
Nothing makes your home sparkle like clean home appliances. While glorious decor such as a striking paint job, a magnificent ornate chandelier, cabinets, and different types of flooring make for a stunning home, greasy, grimy and dirty home appliances can ruin everything. Fortunately, achieving clean home appliances is not a daunting task; it only takes a bit of work and very little know-how. Although it may seem like a long afternoon task, with our glorifying step-by-step guide on how to clean home appliances, your home appliances can be sparkling clean in no time at all.
Fridge

A clean fridge can change the vibe of a room in more ways than one. Aside from looking nice, a clean fridge can rid your home of bad odor, unsightly clutter, and rotten and expired food. That said, here is what you can do to clean your fridge:
- Make a food-safe solution by mixing together equal parts water and vinegar.
- Just spray and wipe up spills as they occur.
- Now label the container and keep this in your fridge for easy access.
This is just to make your everyday routine cleaning tasks easier. Aside from this, give your refrigerator a deep-clean from time to time. Remove all the removable parts to clean all the hidden surfaces and the door gasket properly with 1 part baking soda and 7 parts water. Be aware of the commercial cleaner, as the scent can soak into the food. Also, keep your refrigerator organized to bring order and eliminate clutter.
Microwave Oven
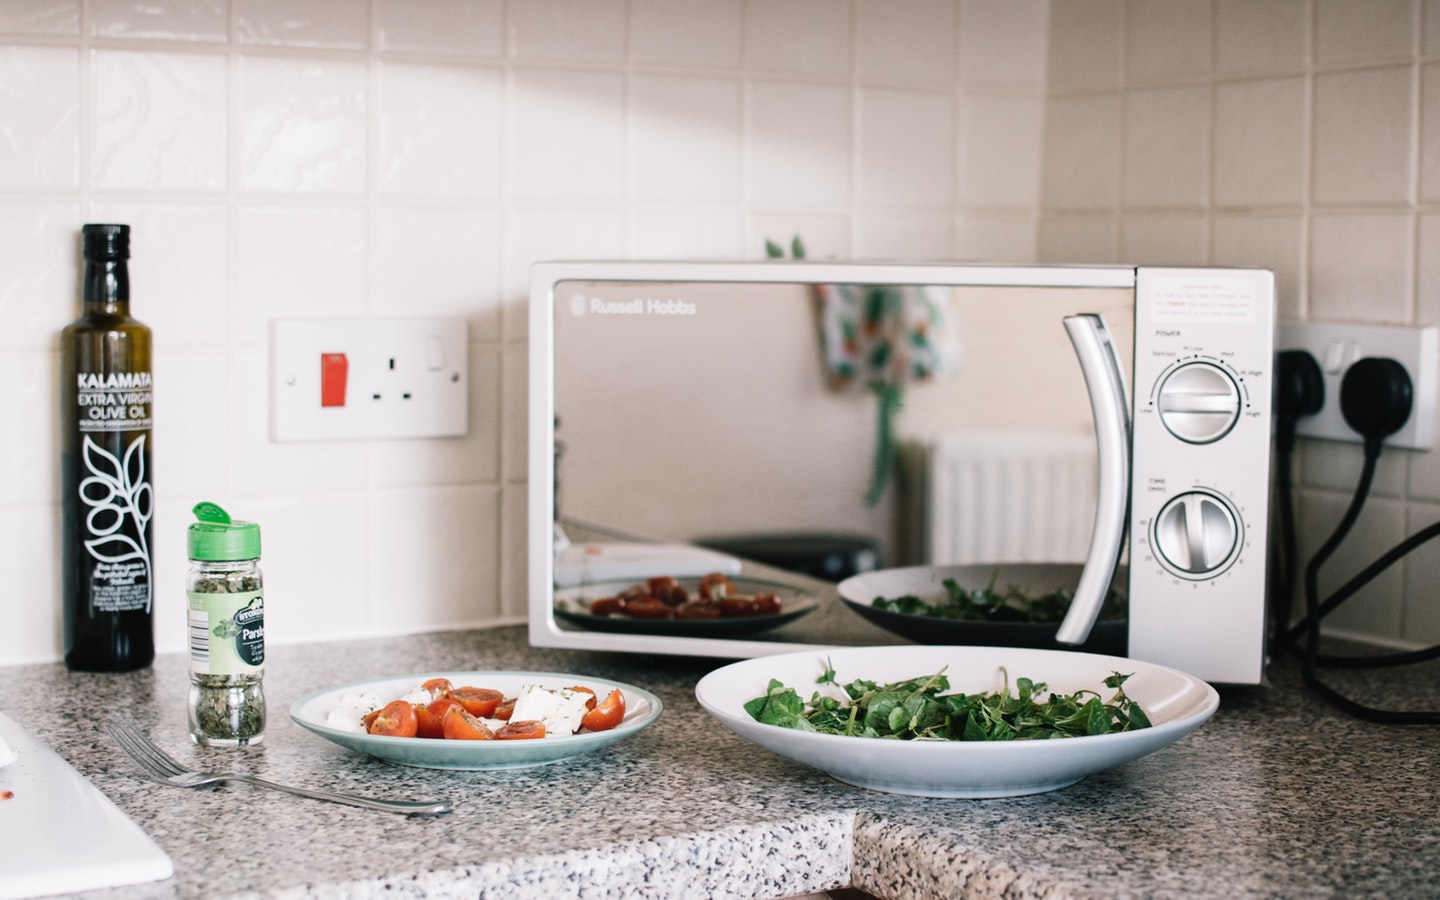
Different types of food such as meat and fish curry can coat the interior of your microwave on a regular basis. All this build-up can get really filthy really fast if not taken care of properly. Besides, it is not pleasant to look at or cook with. With just a bowl of water, you have a chemical-free way to clean home appliances:
- First, fill an oven-safe bowl with water and place it in the microwave.
- Now heat, uncovered until the water starts to boil. Turn off the power and keep the door closed for several minutes. This will allow the steam to soften the debris.
- Wipe the surface clean with damp cloths afterward. You can use the same water-vinegar solution that we stated in the fridge section to wipe clean the exterior of the microwave.
You can also add a few tablespoons of vinegar into the water in the microwave or squeeze some lemon juice into a bowl half-filled with water for a more effective result with a refreshing smell.
Washing Machine
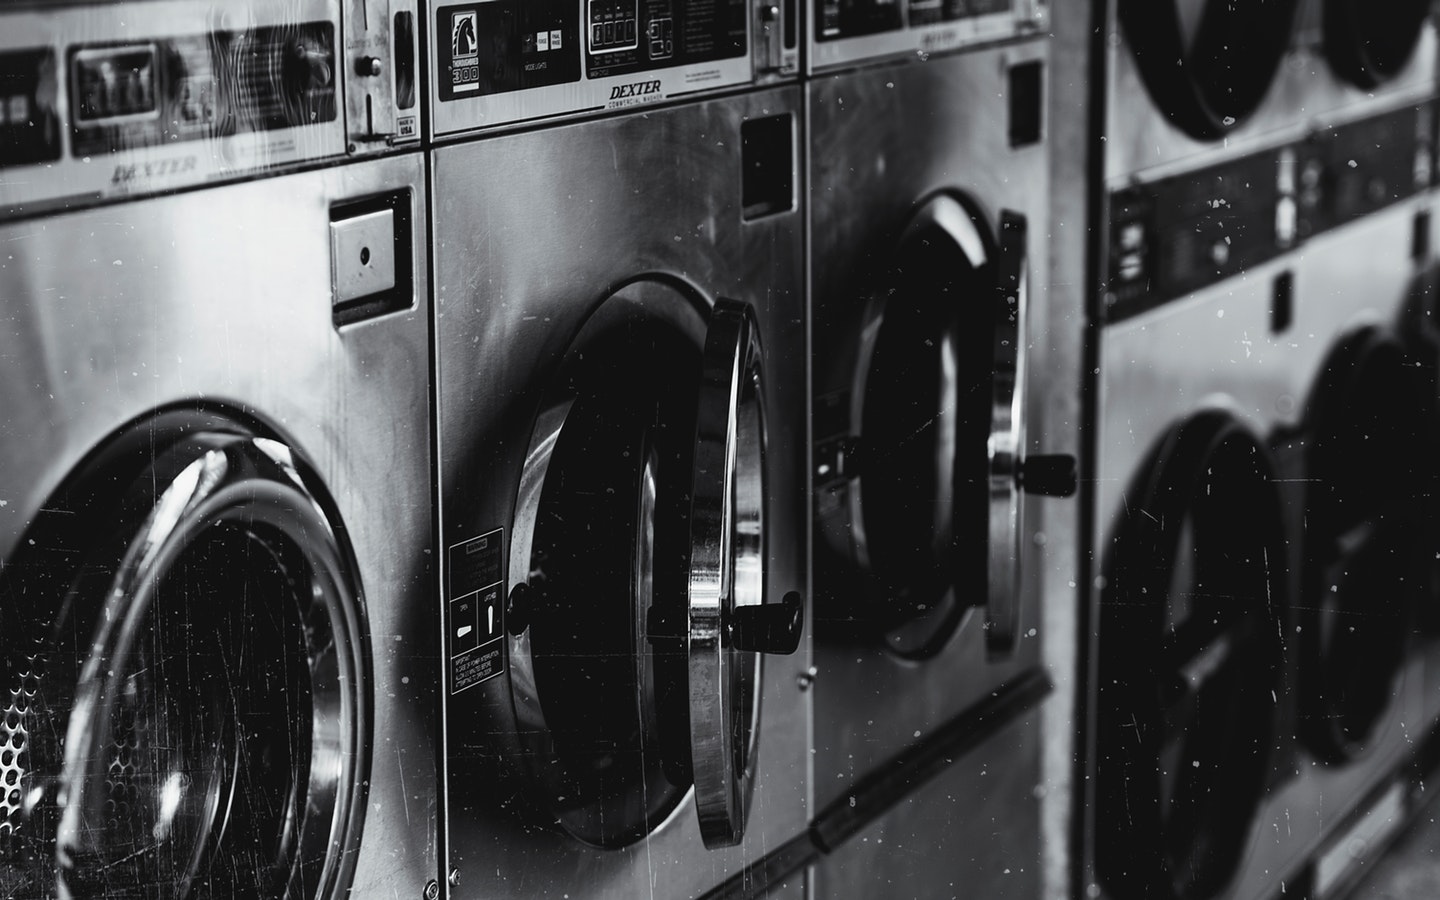
You don’t want your clean pile of laundry to get dirty by the grimy buildup from your washing machine, do you? That’s why it is important to wipe down the exterior of your washing machine on the regular and give the inside an in-depth clean every six months. The process is fairly simple and only takes three steps:
- Pour two cups of vinegar in the machine drum and run the longest cycle on the hottest temperature.
- After the cycle is complete, mix 1/4 cup of vinegar with a quart of warm water. Use a sponge and toothbrush dipped in the mixture to wipe down the inside of the machine, the soap dispenser (if yours is removable, take it out and let it soak in the vinegar and water before scrubbing), and the rubber seal, if you have a front loader.
- Run another cycle (hottest and longest again) without vinegar or detergent.
And for the dryer, clean out the lint screen or filter before every load and clean the lint trap (the compartment where the screen or filter sits) from time to time.
Kitchen Blender

With all the blending and mixing, appliances like kitchen blenders and mixers can easily build up grime if not cleaned the right way. A good, thorough cleaning is important to maintaining the appliance, and it prevents bacteria growth from food residue that gets stuck in the nooks and crannies at the bottom of the blender jar. Follow these simple steps to clean your kitchen blender:
- First of all, pop off removable parts and blades and soak them in a sink filled with warm water and dishwashing liquid.
- Wash the blender jar with warm and soapy water
- Use a nylon brush to scour the blades. A nylon brush should remove any particles caked onto the blades.
- To prevent rust, dry the blades with a clean towel or cloth.
- Wipe down the bases with a cloth dampened with water and dishwashing liquid. Never submerge them in the water. This might damage the equipment.
Kitchen Stove

From oil splatter to seasoning spills, just about anything you cook can inevitably end up on your stovetop. The key to cleaning your stove is to be quick. Every time after cooking, wait for the stove to be cool and give it a good wipe down with an all-purpose cleaner sprayed on a damp cloth. But if your stove develops stains, here is how you can clean it with these simple steps:
- Soak the stain in the strongest cleaner your cooktop can handle and let it sit.
- Use a non-abrasive brush, like a toothbrush, to remove any crumbs between the burner slots.
- Wipe clean with a damp cloth.
The process will take 20 – 30 minutes max and you can get your stovetop back to sparkling. Everything about gas stove-top burners is intricate and varies greatly from model to model and brand to brand. You’ll want to be well-informed on how to clean the stove burners on your specific appliance so you do not damage the burner.
Kitchen appliances need proper care to function properly from time to time. Built-up grime on your appliances is unavoidable. So a little know-how is very important if you want them to last long. Follow the aforementioned step-by-step instructions to clean these five most common home appliances so that they work properly and in effect give your home a nice refreshing vibe.
Do let us know your thoughts on our step-by-step home appliance cleaning guide in the comments section below.


1 Comment
Excellent Content!